We love granola bars at our house and I'm finding myself buying box after box of them at the grocery store. This is frustrating because, if you don't know already, {all natural} granola bars aren't easy on the good ole pocketbook. Plus, they aren't loaded with protein and in my opinion, why bother!?
Making granola/protein bars at home has been on my to-do list for some time now. I am happy to report it's finally checked off the list! YAY ME! These Chocolate Chunk Protein Bars are a great snack and have around 5-6 grams of protein in each bar. They are also a great source of Omega-3's. Read about the benefits here: Benefits of Omega-3's. I'm pretty confident in assuming that there isn't a person reading this that doesn't have some place in there health that needs improving.
These are great to put in kids lunchboxes because of the protein they will stay fuller longer and reap the benefits of the Omega-3s as well. Plus, they have CHOCOLATE! Win-Win in my book!
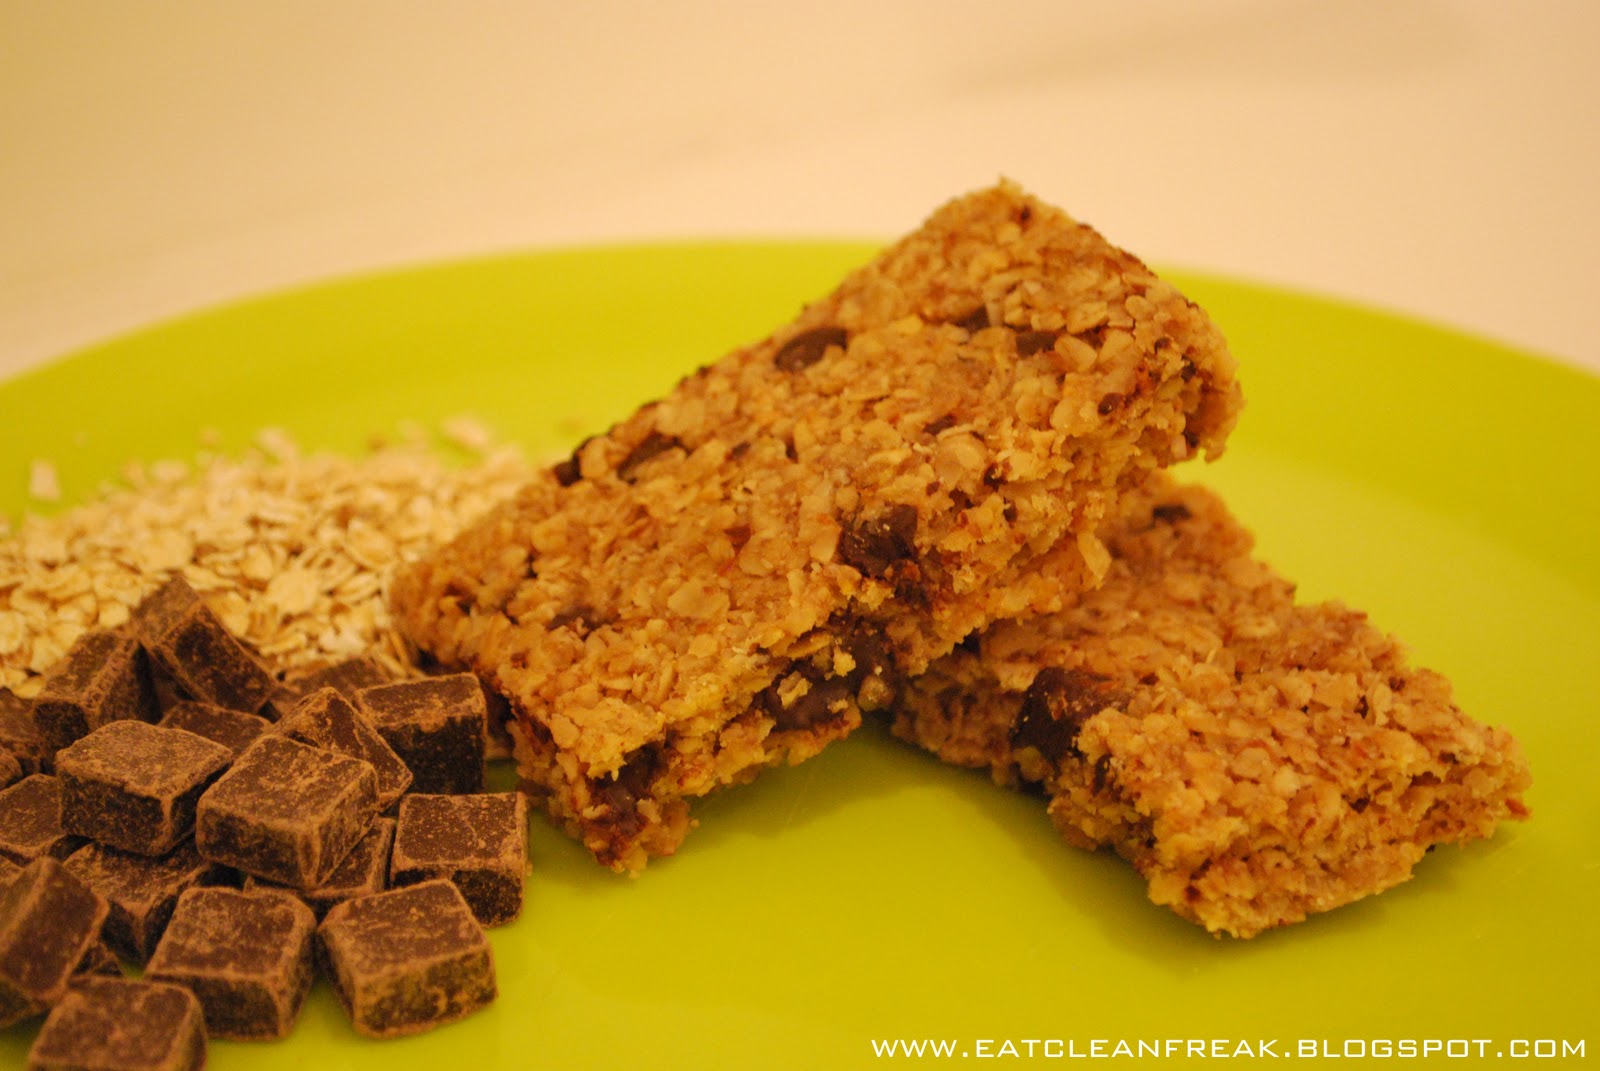
Chocolate Chunk Protein Bars
- 2 cups rolled oats
- 1/2 cup almond flour
- 1/4 cup flaxseed meal
- 1/3 cup {organic} cane sugar (I used super fine)
- 1/4 tsp salt
- 1/3 cup dark chocolate chunks (chopped)
- 1/2 cup honey
- 1/4 cup Barlean's Coconut Oil(slightly heated to liquid form)
- 1 tsp {all natural} vanilla extract
- Parchment paper
1) Preheat oven to 325 degrees.
2) Mix oats, flour, flaxseed, cane sugar, salt, and chocolate into a bowl.
3) In a separate bowl mix the honey, oil and vanilla extract together.
4) Add liquid mixture to dry and blend until fully incorporated.
5) Line a small oven safe dish with parchment paper. I use a 8 inch square dish.
6) Add mixture to dish and push with spatula until it's evenly distributed.
7) Bake for 30 minutes.
8) Allow it to cool completely before cutting or place in refrigerator to speed the process.
Makes 8 large bars
NOTE: I plan to try out many varieties of granola bars. You can add nuts, dried fruit, etc. I would make this recipe first and see what you think. Then double it and make a larger batch. You can individually wrap these bars and store in the freezer. They go fast in my house so there is no need to freeze.
KID APPROVED??? YES!!!


